simple robots 系列之小笨车 心血来潮,双休时制作了小笨车一部,就权当 simple robots 系列的开端吧。这个系列主要是做一些简单(也许)有趣的小机器人,自娱自乐。也希望能帮到有兴趣的人。
硬件准备 以下硬件都是可以在淘宝上可以买到的:
Arduino nano
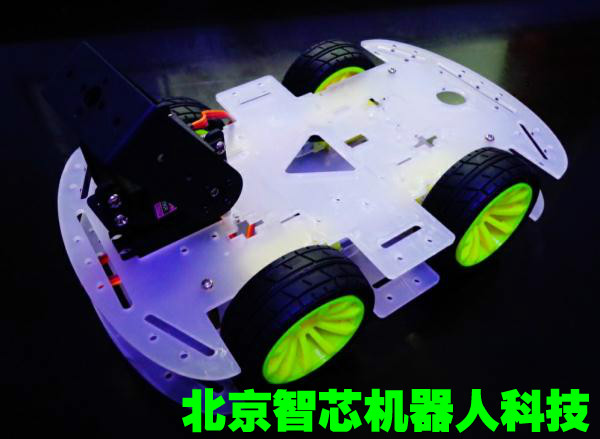
小车底板一份。(这个图只是从买底板的淘宝店截取的 )
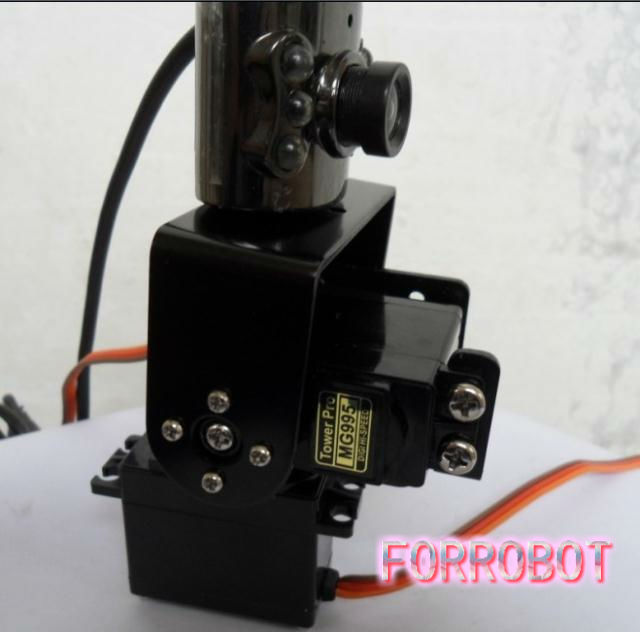
双自由度舵机云台(注:小车底板和舵机要确定能否安装到一起)。
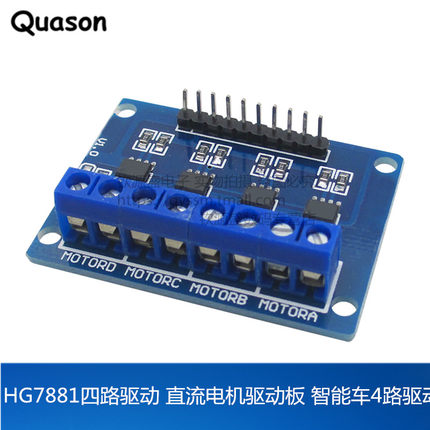
直流电机驱动。
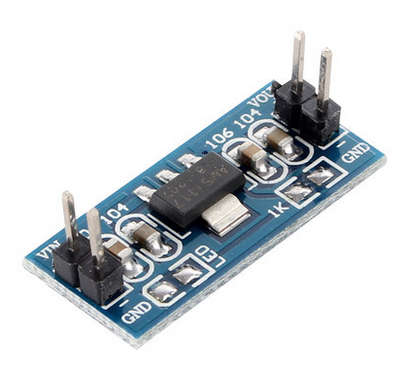
稳压器,ASM1117系列即可。
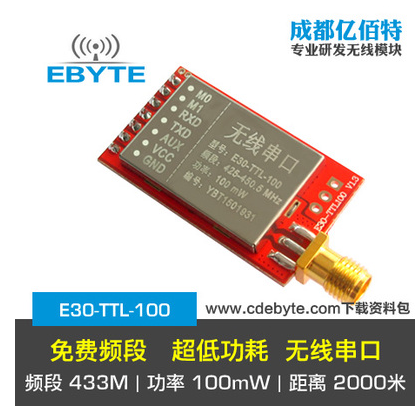
无线通信模块 : 使用了成都亿佰特的串口模块,E30-TTL-100。
电池采用了狮子牌7.4V, 1300mah锂电池组,这个只要是5V+的电池(要看稳压)都是可以的只不过我手头刚好有一个这个电池组。
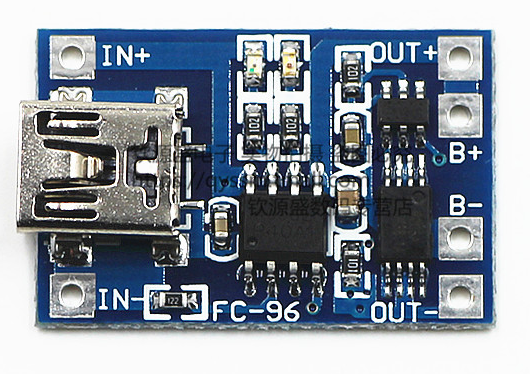
充电可以采用TP405X系列的小充电板,1-2元钱。
对于想使用WiFi的同学来说,推荐一款 NodeMcu ,非常廉价,并且支持lua脚本。
摄像头,自选即可,我采用懒人模式,直接贴了IPHONE的硅胶壳上去,权当把手机当做摄像头来用。至于视频软件,推荐QQ或者Spyke。
软件以及使用方式 软件已上传到github上,链接为https://github.com/Galaxy2416/SimpleWirelessCar
代码非常简单,操作也很简单。
Arduino 主程序
如代码所示,会根据从串口收到的指令来做动作。指令的前四个位用来决定舵机云台的移动,后四个位来决定小车前进后退转弯的操作。
1 2 3 4 5 6 7 8 9 10 11 12 13 14 15 16 17 18 19 20 21 22 23 24 25 26 27 28 29 30 31 32 33 34 35 36 37 38 39 40 41 42 43 44 45 46 47 48 49 50 51 52 53 54 55 56 57 58 59 60 61 62 63 64 65 66 67 68 69 70 71 72 73 74 75 76 77 78 79 80 81 82 83 84 85 86 87 88 89 90 91 92 93 94 95 96 97 98 99 100 101 #include "car.h" Car theCar; bool pitch_p;bool pitch_n;bool roll_p;bool roll_n;void setup () theCar.setupDefault (); theCar.setRollPosition (90 ); theCar.setPitchPosition (90 ); pitch_p = false ; pitch_n = false ; roll_p = false ; roll_n = false ; Serial .begin (9600 ); } void loop () if (pitch_p) theCar.setPitchPosition ((theCar.readPitchPosition () + 1 )); else if (pitch_n) { if (!((theCar.readRollPosition ()<50 || theCar.readRollPosition ()>122 ) && theCar.readPitchPosition ()< 105 ) && theCar.readPitchPosition ()> 90 ) theCar.setPitchPosition ((theCar.readPitchPosition () - 1 )); } if (roll_p) { if (!(theCar.readPitchPosition () < 105 && theCar.readRollPosition () >= 122 )) theCar.setRollPosition (theCar.readRollPosition () + 1 ); } else if (roll_n) { if (!(theCar.readPitchPosition () < 105 && theCar.readRollPosition () <= 50 )) theCar.setRollPosition (theCar.readRollPosition () - 1 ); } delay (15 ); } void serialEvent () byte cmd = Serial .read (); switch 0x0f ) { case 0x00 : theCar.stop (); break ; case 0x01 : theCar.forward(); break ; case 0x02 : theCar.backward (); break ; case 0x04 : theCar.leftTurn (0 ); break ; case 0x08 : theCar.rightTurn (0 ); break ; case 0x04 | 0x01 ): theCar.leftTurn (1 ); break ; case 0x04 | 0x02 ): theCar.leftTurn (-1 ); break ; case 0x08 | 0x01 ): theCar.rightTurn (1 ); break ; case 0x08 | 0x02 ): theCar.rightTurn (-1 ); break ; default : theCar.stop (); } switch 0xf0 ) { case 0x10 : pitch_p = true ; break ; case 0x20 : pitch_n = true ; break ; case 0x40 : roll_p = true ; break ; case 0x80 : roll_n = true ; break ; default : pitch_p = false ; pitch_n = false ; roll_p = false ; roll_n = false ; } }
PC机主程序
PC程序使用Python + pyhooks 实现。
pyhook是一个基于Python的“钩子”库,主要用于监听当前电脑上鼠标和键盘的事件。这个库依赖于另一个Python库PyWin32,如同名字所显示的,PyWin32只能运行在Windows平台,所以PyHook也只能运行在Windows平台。因此如果要在其他系统平台需要使用其他的键盘监听功能。
操作 很简单,键盘的上下左右可以控制小车的移动WSAD用来控制云台的转向。就跟电脑的赛车游戏一般操控即可。(但是没那么好玩 =。=)
1
2
3
4
5
6
7
8
9
10
11
if __name__ == '__main__': ss = serialSender() ss.connect_to_serial() hm = pyHook.HookManager() hm.SubscribeKeyDown(ss.OnKeyboardEventDown) hm.SubscribeKeyUp(ss.OnKeyboardEventUp)
其中为了解决连接E30无线模块的问题,也加入一些判断机制
1
2
3
4
5
6
7
8
9
10
11
12
13
14
15
16
17
18
19
20
def connect_to_serial (self ): vid_pid = '10C4:EA60' port_list = list (serial.tools.list_ports.comports()) if len (port_list) <= 0 : print ("The Serial port can't find!" ) else : for i in port_list: if str (list (i)[2 ]).find(vid_pid) != -1 : port_list_use =list (i) port_serial = port_list_use[0 ] self.ser = serial.Serial(port_serial,9600 ,timeout = 60 ) print ("Find the port >" ,self.ser) break if self.ser == 0 : print ("Cannot find the port of wireless serial." ) def close_the_serial (self ): if self.ser != 0 : self.ser.close();
使用的时候请把vid_pid改写成自己USB设备的ID,此功能仅能针对串口转USB设备。
小结 适合跟小朋友一起制作!培养感情~

